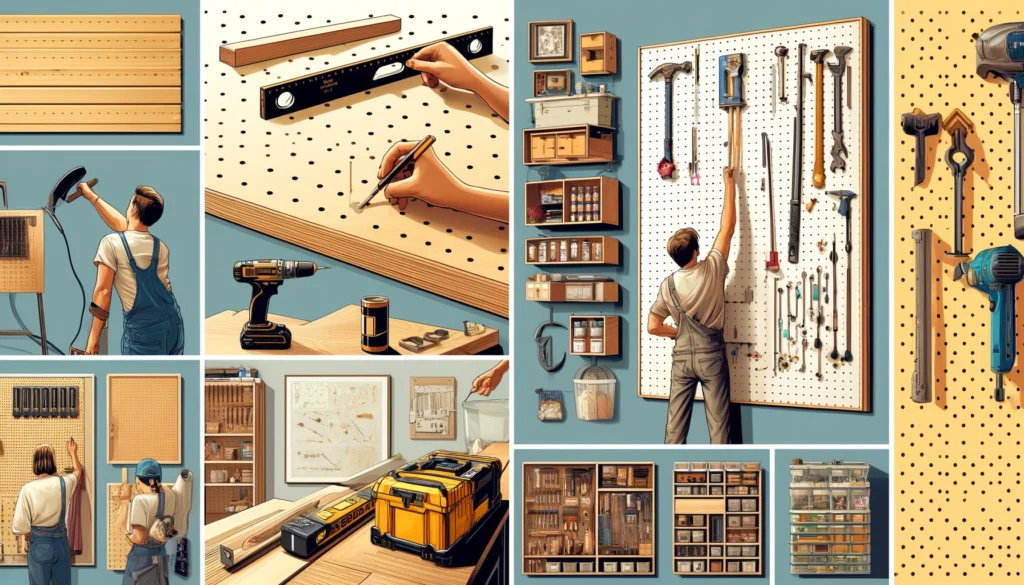
Creating a DIY Pegboard Wall is a practical and stylish way to add extra storage and organize tools, craft supplies, or even kitchen utensils. Here’s a step-by-step guide to building your own pegboard wall, complete with images to guide you through the process.
Materials Needed:
- Pegboard sheets
- 1×2 inch wood strips for framing
- Screws
- Wall anchors (if not screwing into studs)
- Drill
- Level
- Tape measure
- Saw (if cutting wood strips or pegboard to size)
- Paint or spray paint (optional)
- Paintbrush or roller (if painting)
- Hooks and accessories for hanging items
Step 1: Choose and Prepare the Pegboard
Select the size of the pegboard that best fits your wall space. Pegboards are typically available in 4×8 foot sheets. You can paint the pegboard to match your room’s décor. Use spray paint or a roller for an even coat, and allow it to dry completely.
Step 2: Frame the Wall
Measure and cut the 1×2 inch wood strips to frame the back of the pegboard. This frame will space the pegboard away from the wall, allowing hooks to be inserted easily. Attach the frame strips to the edges and across the pegboard at regular intervals (about every 12 to 16 inches) using screws.
Step 3: Mount the Pegboard
Locate the wall studs where you’ll hang the pegboard. Hold the pegboard against the wall and mark where the studs align with the frame strips. Drill holes through the pegboard and frame where these marks are. Use a level to ensure your pegboard will be straight. Screw the pegboard into the wall studs, or use wall anchors if studs aren’t available.
Step 4: Add Hooks and Organize Tools
Once the pegboard is securely attached to the wall, you can start adding hooks. Arrange your tools, craft supplies, or kitchen utensils by hanging them on the pegboard with appropriate hooks and accessories. You can adjust and rearrange as needed.
Step 5: Customize Your Space
You can add shelves, bins, or other organizing accessories that are compatible with pegboard systems to enhance storage capacity and functionality. This allows you to customize the space to your specific needs.
Tips:
- Make sure the frame behind the pegboard has enough depth to fit the hooks and accessories you plan to use.
- Consider the weight of items you plan to hang and ensure your mounting method is sturdy enough to support them.
- Regularly check that the pegboard and hooks are securely fastened, especially if supporting heavier items.
Creating a pegboard wall is a simple and effective way to organize a workspace or any part of your home, making items easily accessible and neatly displayed.
- Home Depot’s Pegboard Section:
- Link: Home Depot Pegboards
- YouTube DIY Tutorial on Installing a Pegboard:


