Hinge heads, those little decorative knobs that sit atop the hinges of your doors, are the delightful DIY detail you might not have realized your home needed. Perfect for adding a unique touch to interior design, hinge heads can transform mundane door hinges into charming points of interest in your home, serving not only a practical function but also a decorative one. Below, we explore why hinge head are becoming a popular DIY project and how you can get started on this simple yet satisfying craft.
1. What are Hinge Heads?
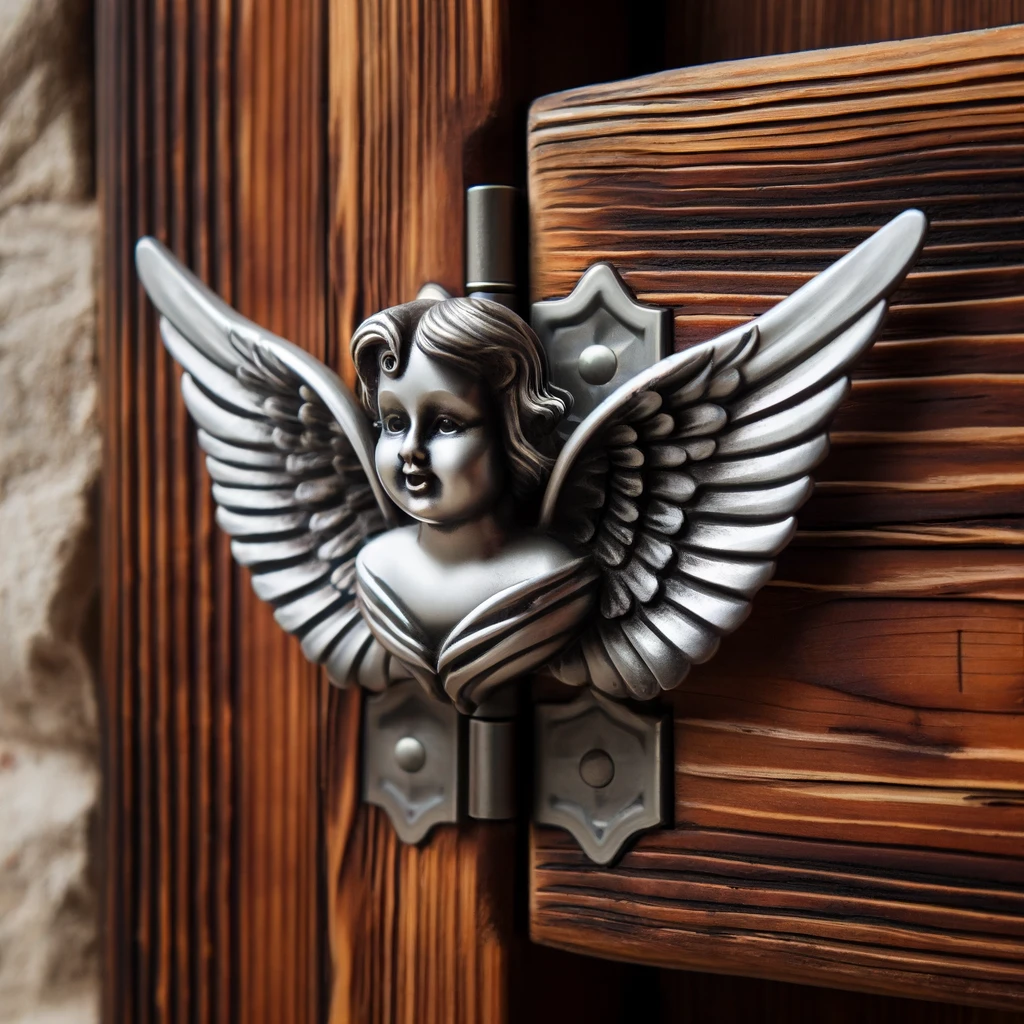
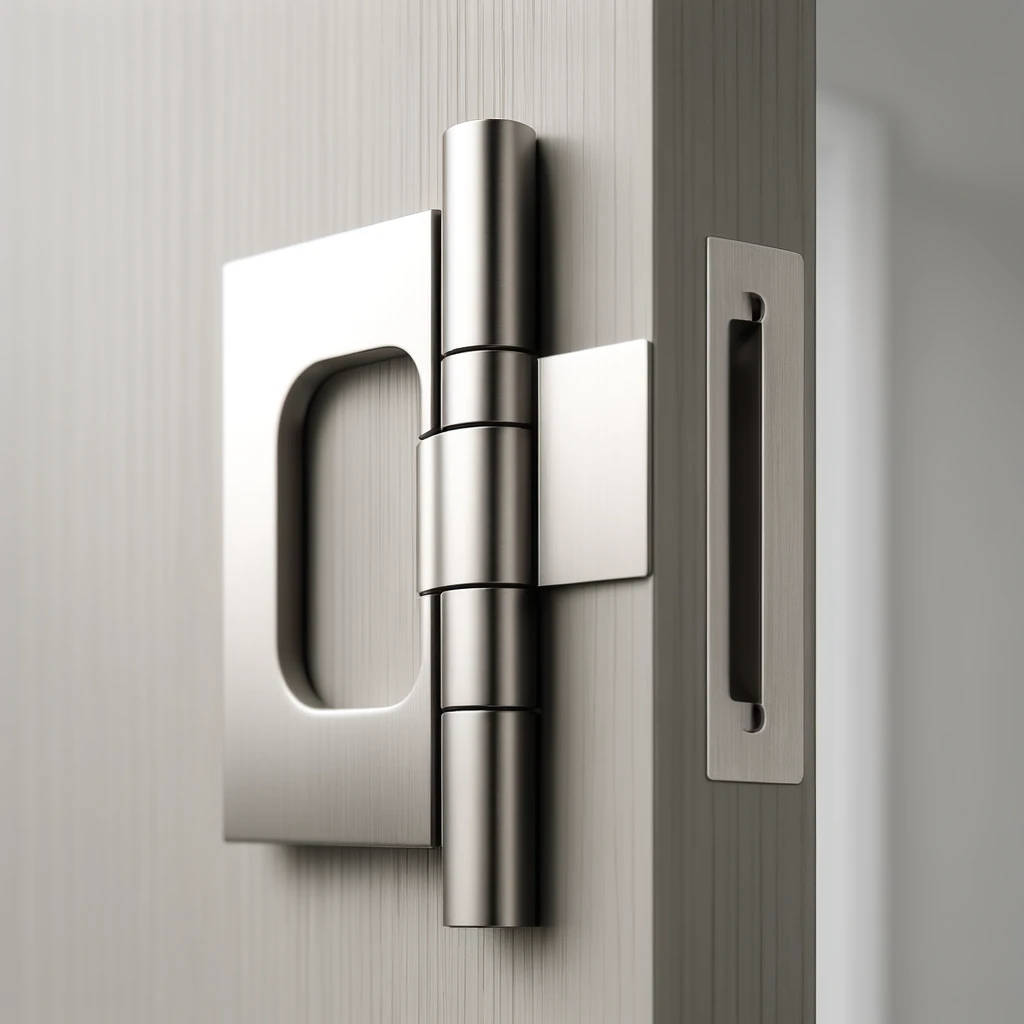
Hinge heads are small, ornamental pieces that attach to the top or bottom of your door’s hinge. They come in various designs—from classic figures like angels and gargoyles to modern abstract shapes. Traditionally made from materials such as metal or ceramic, these artistic details can introduce an element of surprise and whimsy to a room’s décor.
2. Why Hinge Heads Can Enhance Your Home
Aesthetic Appeal: Hinge heads add a subtle yet impactful element of design to any room. They can complement the existing décor or offer a striking contrast, depending on the chosen style.
Personalization: Custom hinge heads allow for personal expression in the home. You can choose designs that reflect your interests, heritage, or aesthetic preferences, making your space truly your own.
Fun DIY Project: Creating your own hinge head can be a fun DIY project that doesn’t require extensive skills or tools. It’s a great weekend activity that can also involve family or friends.
3. How to Make Your Own Hinge Heads
Materials Needed:
- Polymer clay (or metal if you have the tools and skills)
- Paint and brushes
- Oven (for polymer clay)
- Adhesive suitable for metal and ceramics
Steps:
- Design Your Hinge Head: Sketch out a few designs or get inspired by images online.
- Mold the Clay: Shape your polymer clay into the desired design. Ensure it fits the hinge size.
- Bake According to Instructions: If using polymer clay, bake it in the oven according to the clay instructions.
- Paint and Finish: Once cooled, paint your hinge heads as desired and apply a sealant to protect the paint.
- Attach to Hinges: Using a strong adhesive, attach the finished hinge head to your door hinges.
4. Styling Tips for Hinge Heads
- Coordinate with Hardware: Match your hinge head with the door’s hardware for a cohesive look.
- Contrast Colors: Use bright colors or metallic finishes to make your hinge head stand out against the color of the door.
- Theme Consistency: Keep a consistent theme throughout the house or vary the designs room by room for distinctiveness.
Conclusion
Hinge heads are an excellent way to add a touch of personal flair to your home’s doors. Whether you buy them or make them yourself, these small additions are a fun and easy way to upgrade your interior design. So why not give this DIY project a try and see how a small change can make a big impact?
- DIY Guide on Polymer Clay Projects: Visit this comprehensive guide to learn more about working with polymer clay, which is useful for making custom hinge heads.
- Antique Door Hinge Inspirations: Explore a collection of antique door hinges and hinge head on Antique Hardware, which can inspire designs or be purchased for those who prefer authentic antique metalwork.
- Home Improvement and Decor Tips: For further reading on how small details like hinge head can influence home decor, check out Houzz for articles and professional advice on interior design.


