
Drilling into brick or concrete might seem like a daunting task, but with the right tools and techniques, it can be a straightforward process. Whether you’re hanging a picture frame or installing a shelf, knowing how to drill into these sturdy materials is an essential skill for any DIY enthusiast. In this guide, we’ll walk you through the steps to safely and effectively drill into brick or concrete.
Tools and Materials
To drill into brick or concrete, you’ll need the following tools and materials:
- Power drill: Choose a drill with a hammer function for drilling into brick or concrete.
- Masonry drill bits: These bits are specially designed to drill into hard materials like brick and concrete.
- Safety gear: Wear safety goggles to protect your eyes from flying debris, and consider wearing a dust mask to prevent inhalation of dust particles.
- Masking tape: Use masking tape to mark the drilling location and prevent the drill bit from slipping.
Step-by-Step
Now that you have the necessary tools and materials, follow these steps to drill into brick or concrete safely and effectively:
Step 1: Mark the Drilling Location
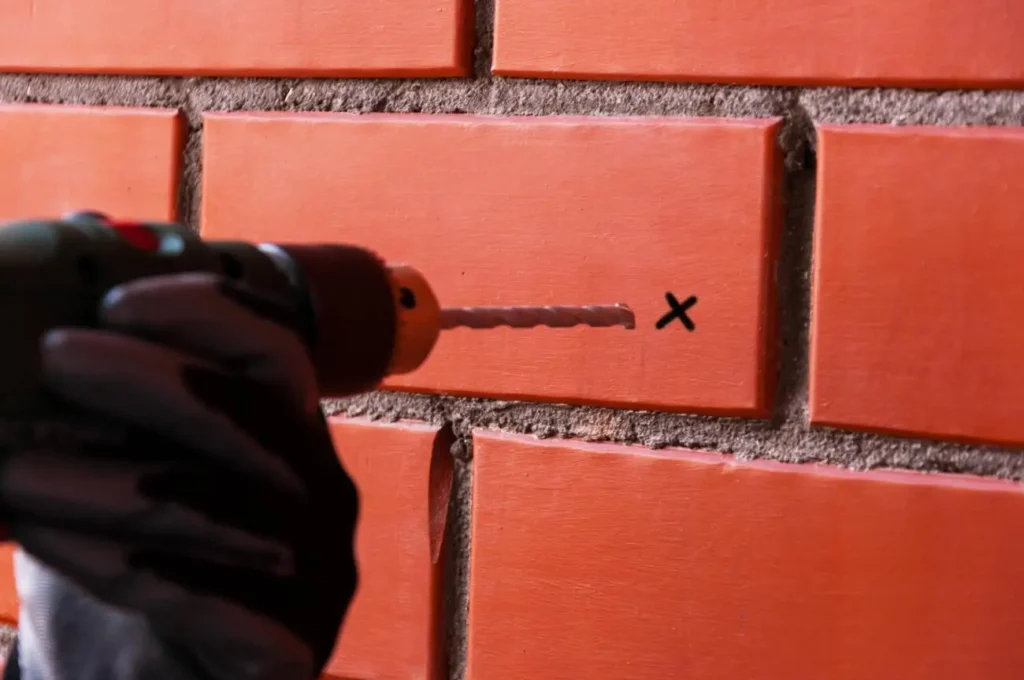
Use a pencil and a measuring tape to mark the drilling location on the surface of the brick or concrete. Place a piece of masking tape over the mark to help guide the drill bit and prevent it from slipping.
Step 2: Attach the Masonry Drill Bit
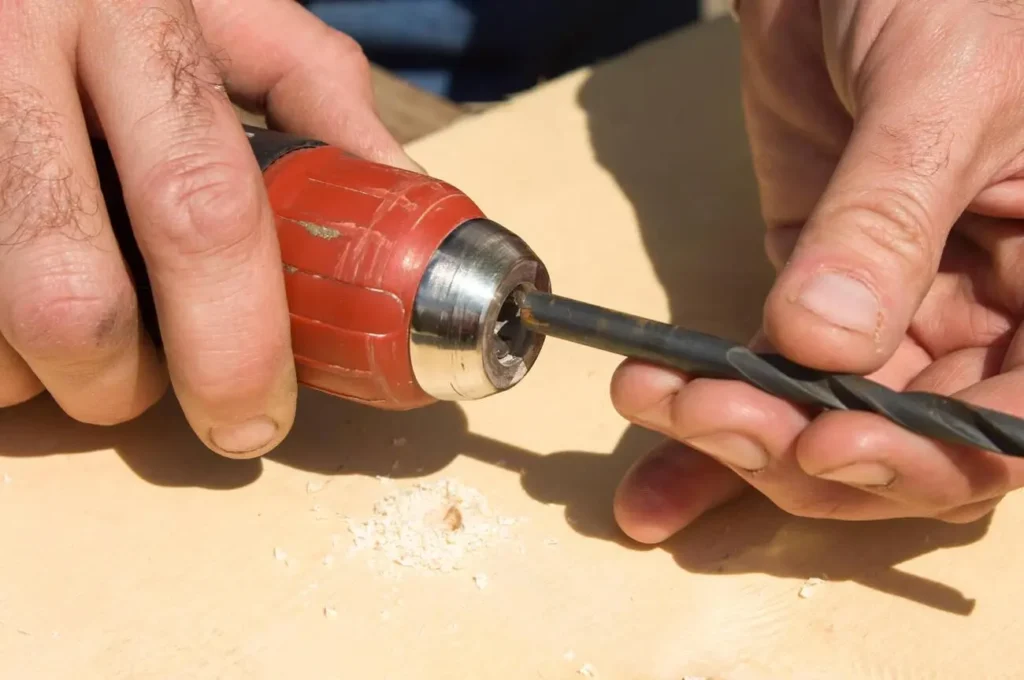
Insert the appropriate-sized masonry drill bit into your power drill. Make sure it’s securely attached before proceeding to the next step.
Step 3: Set the Drill to Hammer Mode
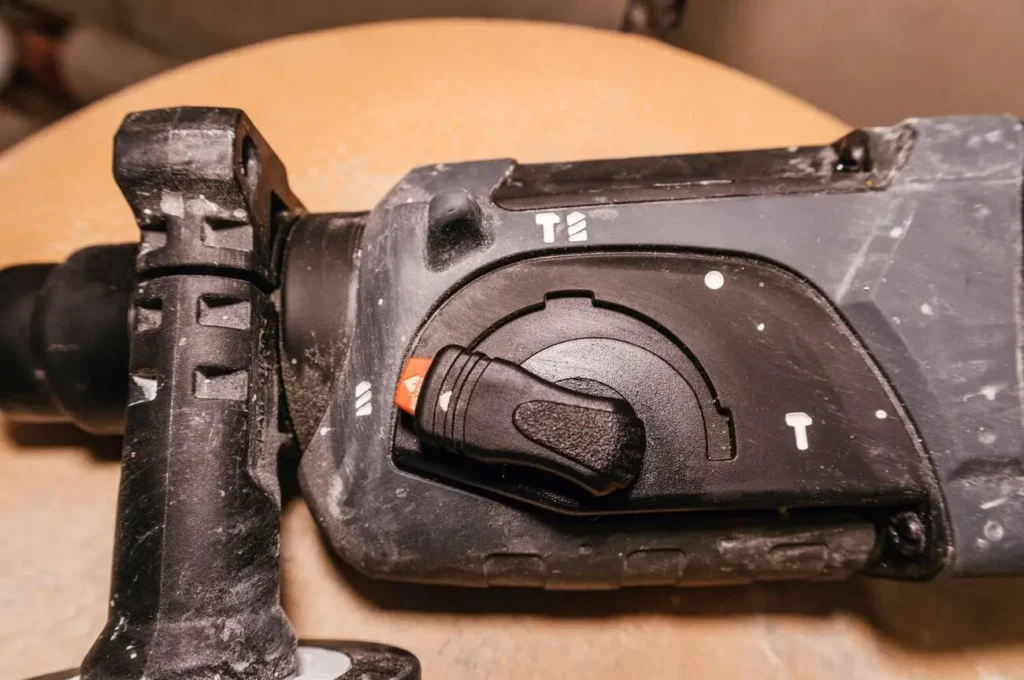
If your power drill has a hammer function, set it to this mode. The hammer function will help the drill bit penetrate the hard surface of the brick or concrete more effectively.
Step 4: Drill Slowly and Steadily
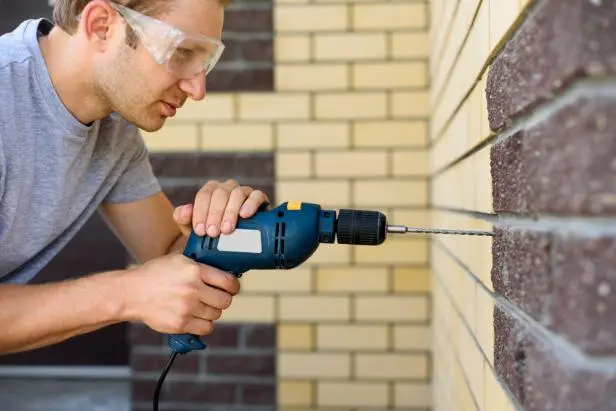
Position the tip of the drill bit directly over the marked drilling location. Apply steady pressure as you begin drilling, allowing the drill bit to penetrate the surface gradually. Avoid applying too much force, as this can cause the drill bit to become stuck or break.
Step 5: Remove the Drill Bit Periodically
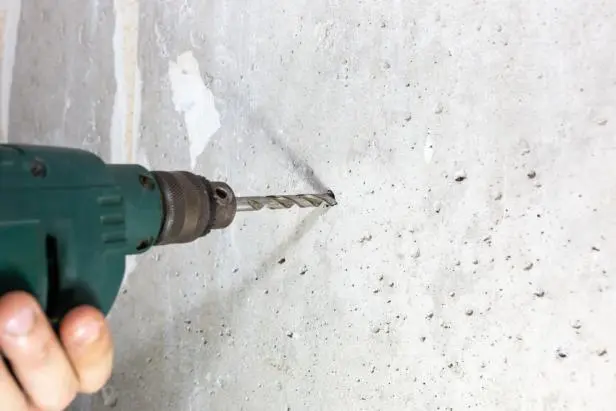
As you drill, periodically stop and remove the drill bit to clear away any dust or debris that has accumulated in the hole. This will help prevent the drill bit from becoming dull and ensure a clean, precise hole.
Step 6: Insert Anchors (If Necessary)
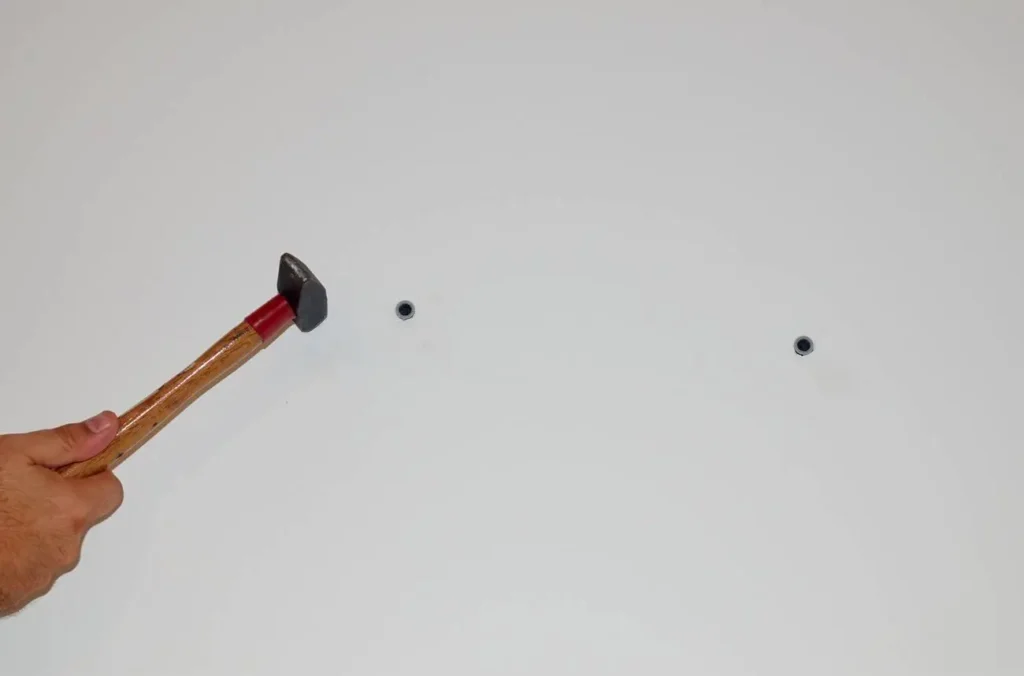
If you’re installing screws or anchors into the drilled hole, insert them carefully once drilling is complete. Use a hammer to tap them gently into place, taking care not to damage the surrounding surface.
Step 7: Clean Up
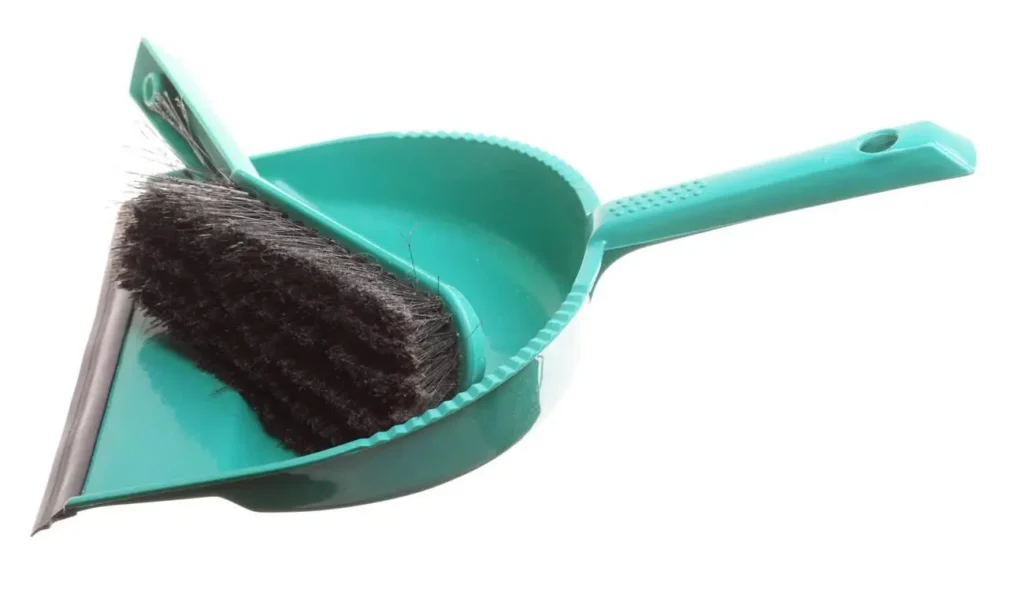
Once you’ve finished drilling, clean up any dust or debris left behind using a vacuum or brush. Dispose of any waste materials responsibly.
